American
Rice Krispie Treats
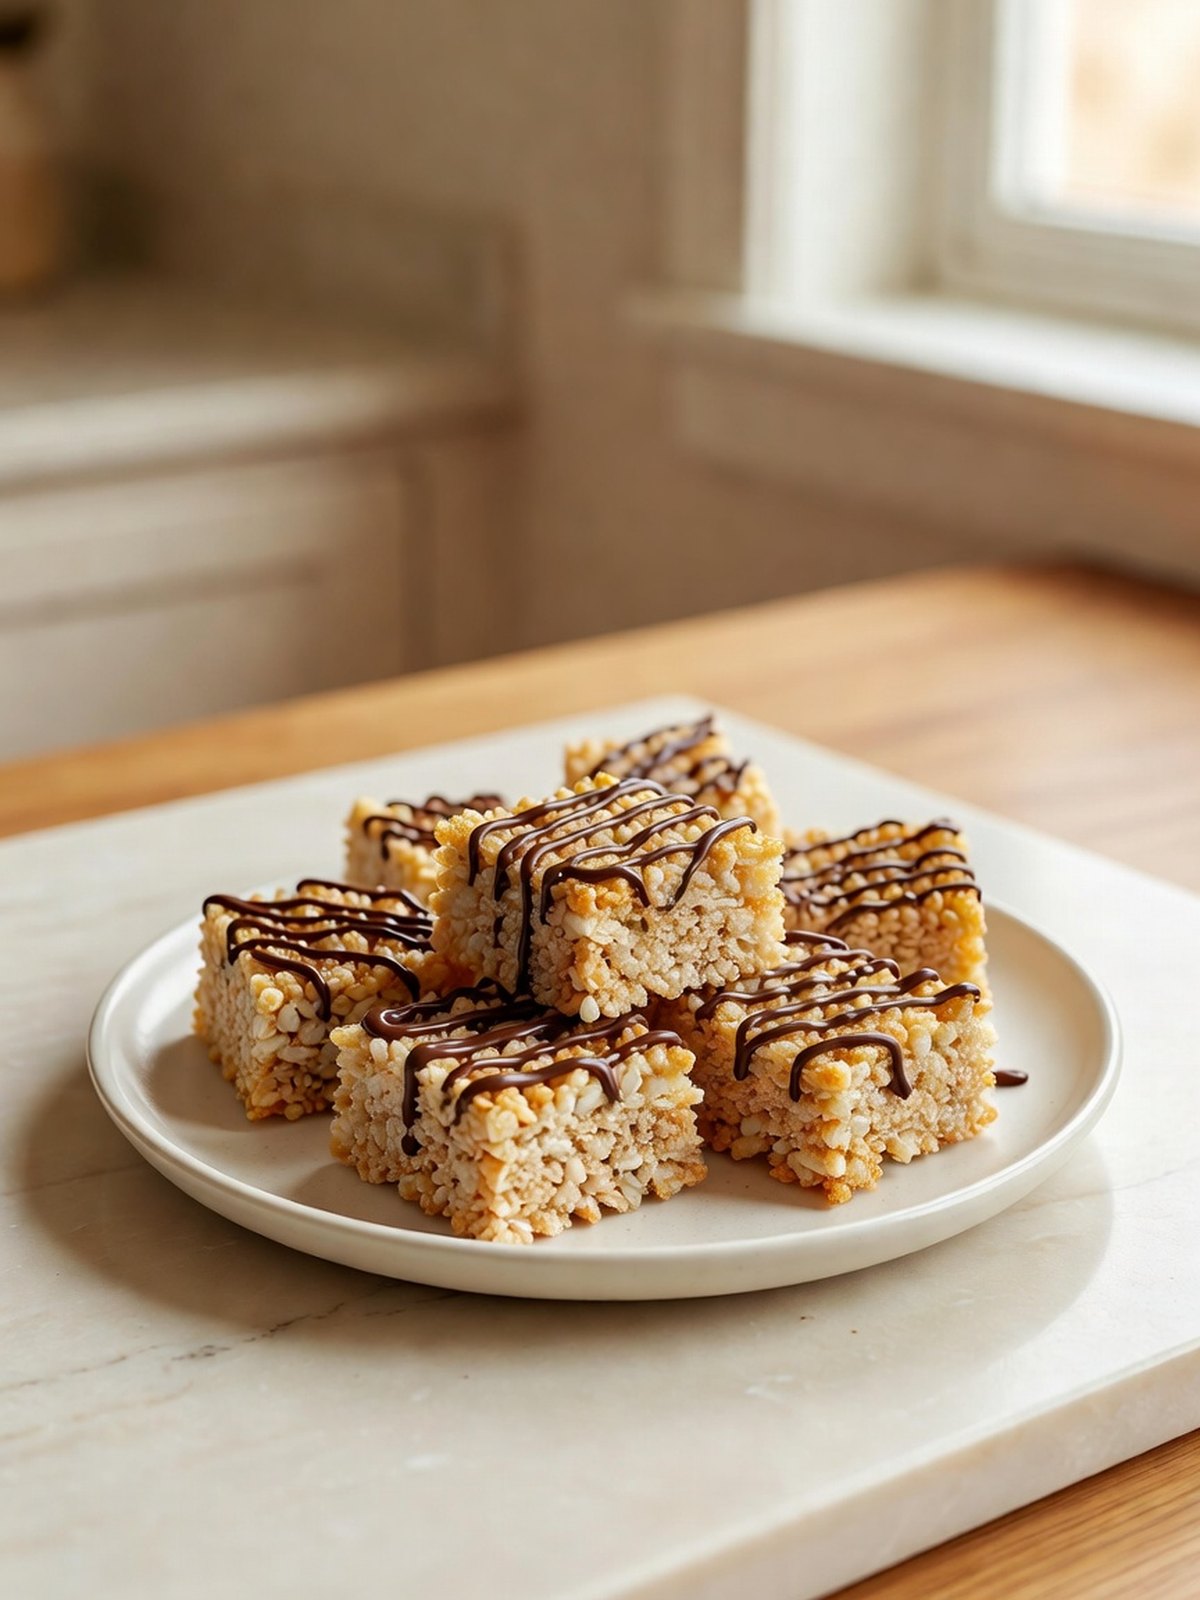
Butter and marshmallows melt on the stove and coat crisped rice cereal into soft bars. A thin chocolate drizzle sets on top after the pan cools.
- Prep
- 10 min
- Cook
- 8 min
- Total
- 18 min
- Servings
- 16
- Difficulty
- Easy
Why you’ll love it
- Low heat melts the marshmallows without scorching the butter.
- Vanilla and salt keep the bars from tasting flat and one-note.
- The cereal is folded in off the heat so it stays crisp.
- A light press in the pan keeps them chewy. A hard pack makes them stiff.
Ingredients
Ingredient amounts scale. Oven temperature and cook time do not. Salt, spices, and leaveners are a starting point after you scale. Taste and adjust.
Check the ingredients you still need, then add them. If nothing is checked, the full list is added. Saved on this device.
Instructions
- 1
Line an 8-inch square pan with parchment. Use a small bit of the butter to grease the parchment, then melt the rest in a large pot over low heat.
- 2
Add the mini marshmallows and stir until they are fully melted and smooth. Take the pot off the heat.
- 3
Stir in the vanilla and salt.
- 4
Fold in the crisped rice cereal until every piece is coated.
- 5
Scrape the mixture into the pan. Press it gently with a buttered spatula. Do not pack it hard.
- 6
Cool until firm, about 30 minutes. Melt the chocolate chips with the coconut oil over low heat, stirring until smooth.
- 7
Drizzle the chocolate over the bars. Let it set, then cut into 16 squares.
Pro tips
- If the marshmallows scorch, the whole pan tastes bitter. Keep the burner on low.
- Fresh marshmallows melt smoother than a stale open bag.
- Grease the spatula or the cereal sticks and you will crush the bars trying to spread them.
Easy substitutions
- semisweet chocolate chips
- white chocolate chips
- coconut oil
- 1 tsp vegetable shortening
- crisped rice cereal
- cocoa crisped rice cereal
Storage and reheating
Storage
Keep in an airtight container at room temperature up to 3 days, with parchment between layers.
Reheating
Do not reheat. They are eaten at room temperature. If the chocolate is dull from the fridge, let the bars sit out 15 minutes.
Nutrition
Estimates per serving, using standard ingredient averages and rounded to the nearest gram. This is not a lab analysis, and it shifts if you change brands or add sides.
- Calories
- 137
- Protein
- 1 g
- Carbs
- 22 g
- Fat
- 5 g
- Fiber
- 0 g
Budget friendly · Stovetop
You might also like
Apple Fritters
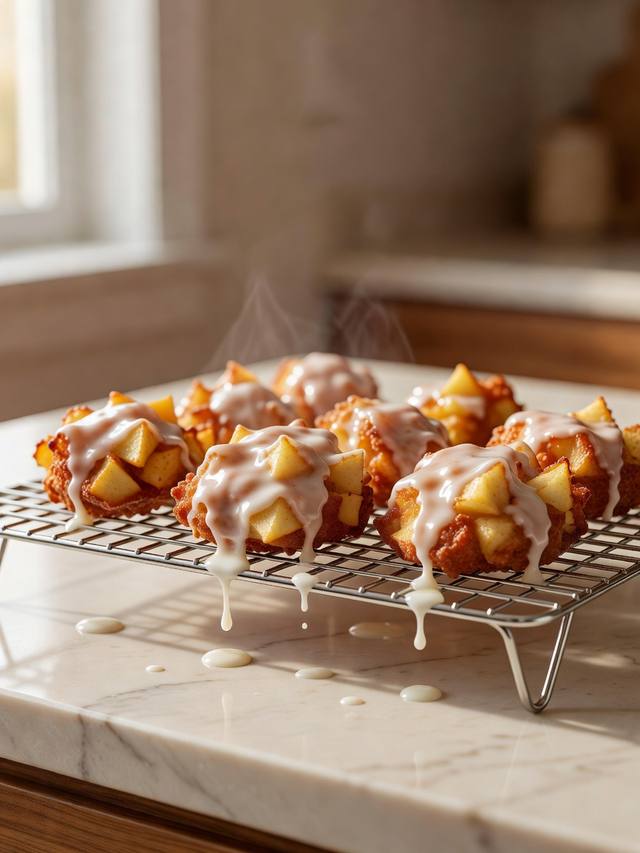
Diced apples fold into a simple batter and fry until the centers are cooked through and golden. A thin glaze goes on while the fritters are still warm.
40 min · Medium
View recipe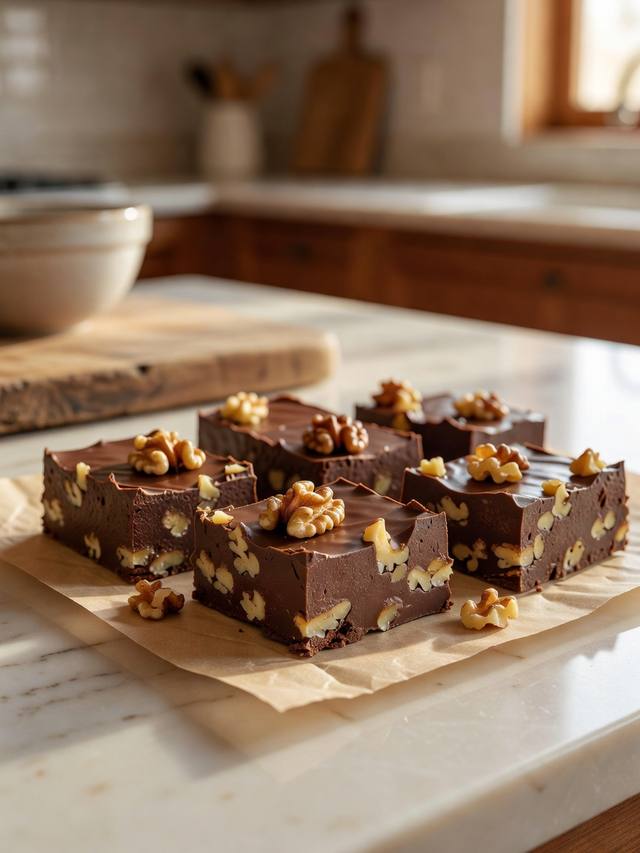
Chocolate Fudge
Chocolate chips melt into sweetened condensed milk with butter, salt, and a pinch of espresso. The fudge chills until it slices into firm squares.
20 min · Easy
View recipe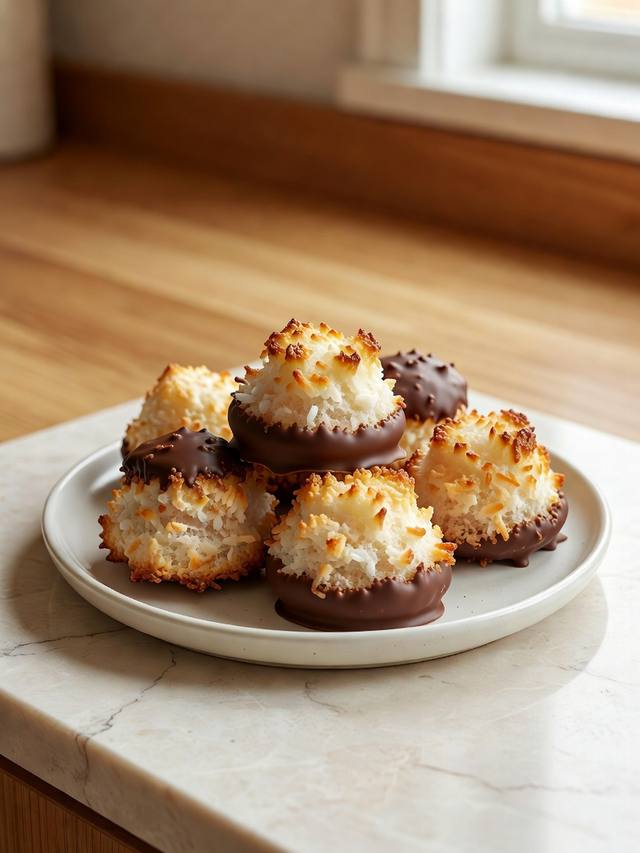
Coconut Macaroons
Shredded coconut, condensed milk, and an egg white bake into toasted mounds. The centers set in the oven, then the bottoms get a dip of melted chocolate.
37 min · Easy
View recipe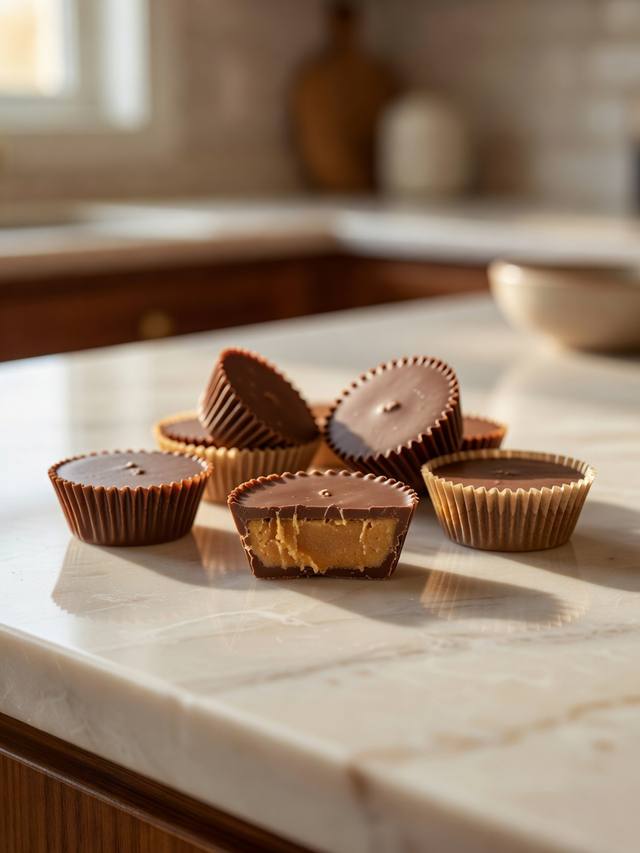
Peanut Butter Cups
Melted chocolate shells a salty peanut butter filling in mini muffin liners. Both layers set in the fridge until the cups hold a clean cut.
35 min · Easy
View recipeStill hungry?
More in the same lane, not a random mix.
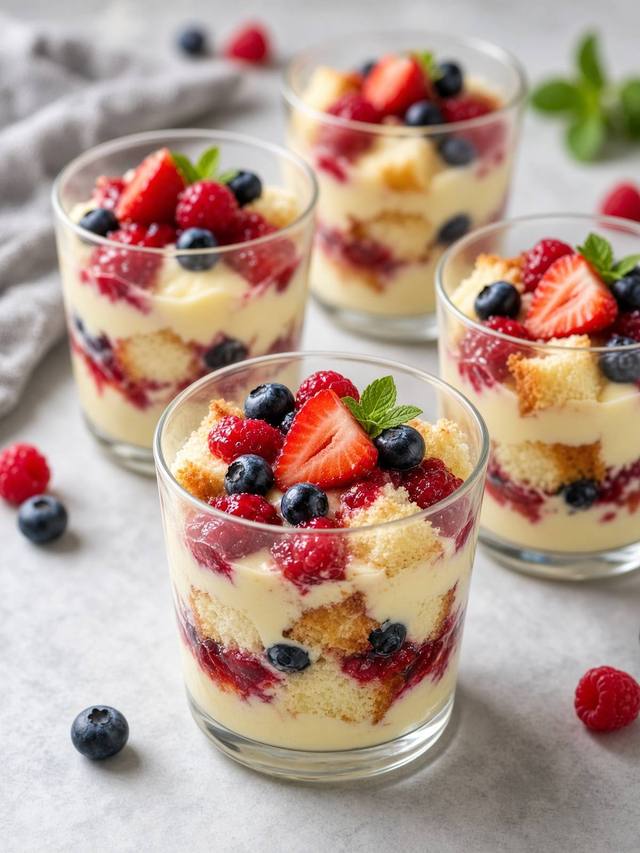
Berry Trifle Cups
Cake cubes, vanilla pudding, and berries layered in cups so every spoonful gets crust, cream, and fruit. The pudding is cooked, then chilled, so the cups hold a shape.
30 min · Easy
View recipe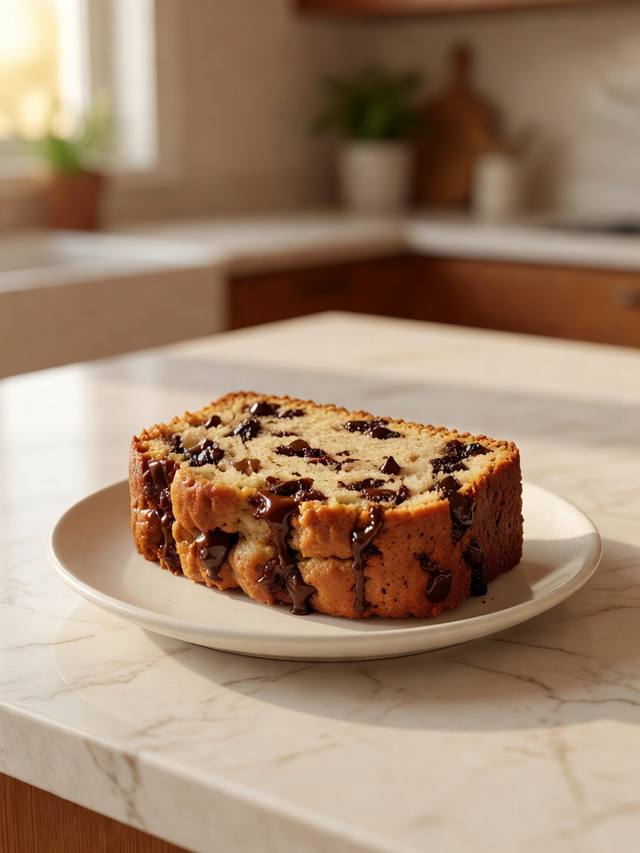
Chocolate Chip Banana Bread
Very ripe bananas mash into a simple loaf studded with chocolate chips. It bakes until the center is set and a toothpick comes out clean.
1 hr 13 min · Easy
View recipe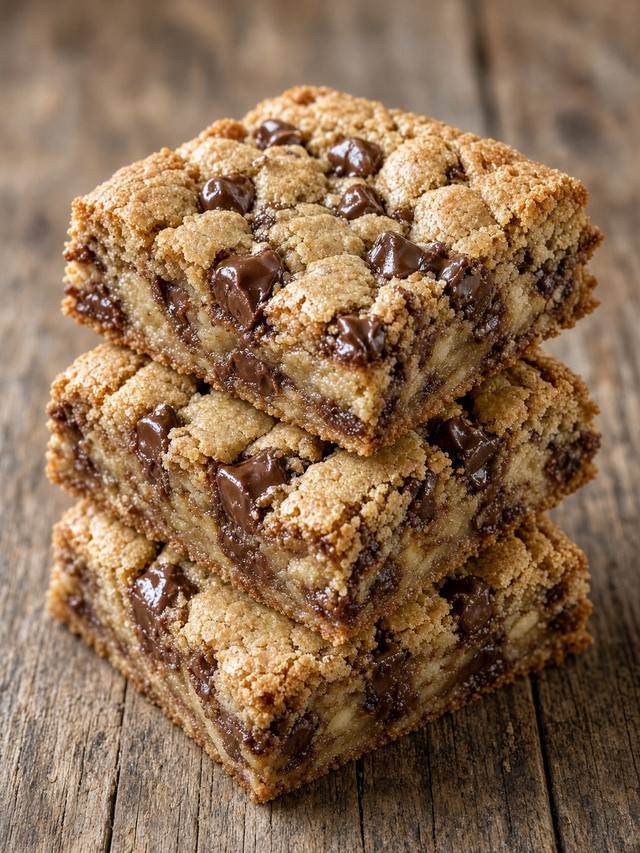
Chocolate Chip Cookie Bars
A thick pan of chocolate chip cookie, cut into squares. The center should be set, not shiny and raw, and the edges should be golden.
40 min · Easy
View recipe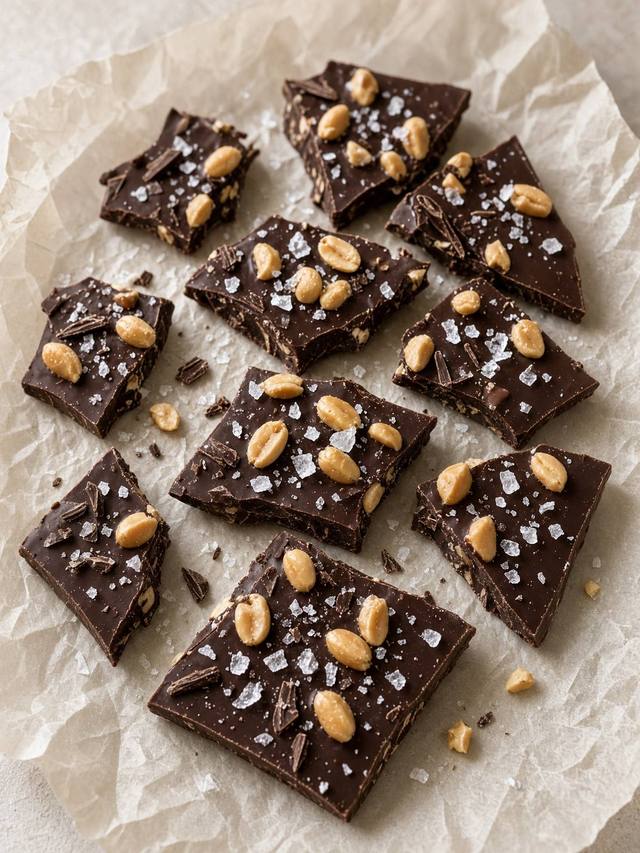
Chocolate Peanut Bark
Melted chocolate sets in a thin sheet with roasted peanuts and a little salt. It is a candy you break, not a bake, and it needs the fridge only long enough to firm up.
15 min · Easy
View recipeFind something else
From the kitchen
Kitchen tools we love
Practical tools these recipes actually use. This is not a review roundup, and these are not paid placements. If affiliate links are added later, they will be labeled and disclosed.
A heavy 12-inch skillet
Most of the chicken and steak recipes are written for one pan that holds heat. Stainless or cast iron both work.
An air fryer with a real basket
The air-fryer recipes expect a single layer. A crowded basket steams instead of browning.
A half-sheet pan
Drumsticks, potatoes, sausage, and carrots all use one. A dark pan browns faster than a very shiny one.
A sharp chef’s knife
These recipes do not need a specialty blade. A sharp 8-inch knife is faster and safer than a dull one.
A large cutting board
Big enough that the onion and the raw chicken are not sharing the same puddle.
Dry cups and a liquid cup
Desserts in particular expect level dry measures and a separate cup for milk.
An instant-read thermometer
Use it for poultry, pork chops, and meatloaf. Color is a weak guide.
Read the affiliate disclosure.